[2023 Version] Apply for Overtime
Main contents:
A. On website (details)
B. On mobile app (details)
C. Notes for creating requests for employees on flexible work time (details)
Employees can work overtime on weekdays, weekends, and holidays according to the provisions of the Labor law and the company’s policies.
The system provides the function of creating regular overtime applications and multi-day overtime applications. To apply for overtime work, follow these steps:
ON WEBSITE
1. How to create a regular application
Steps:
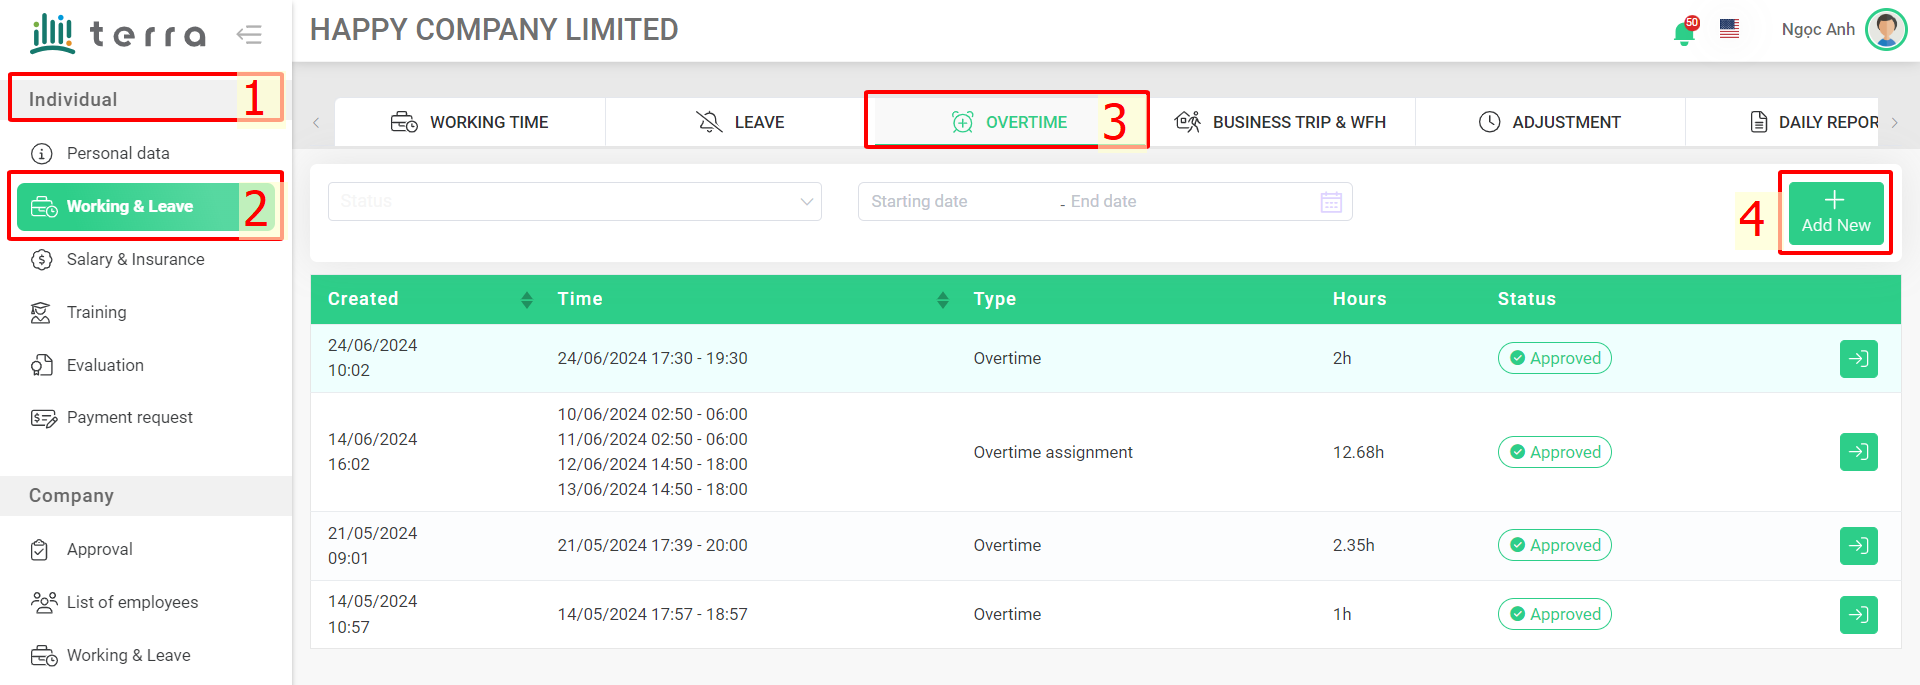
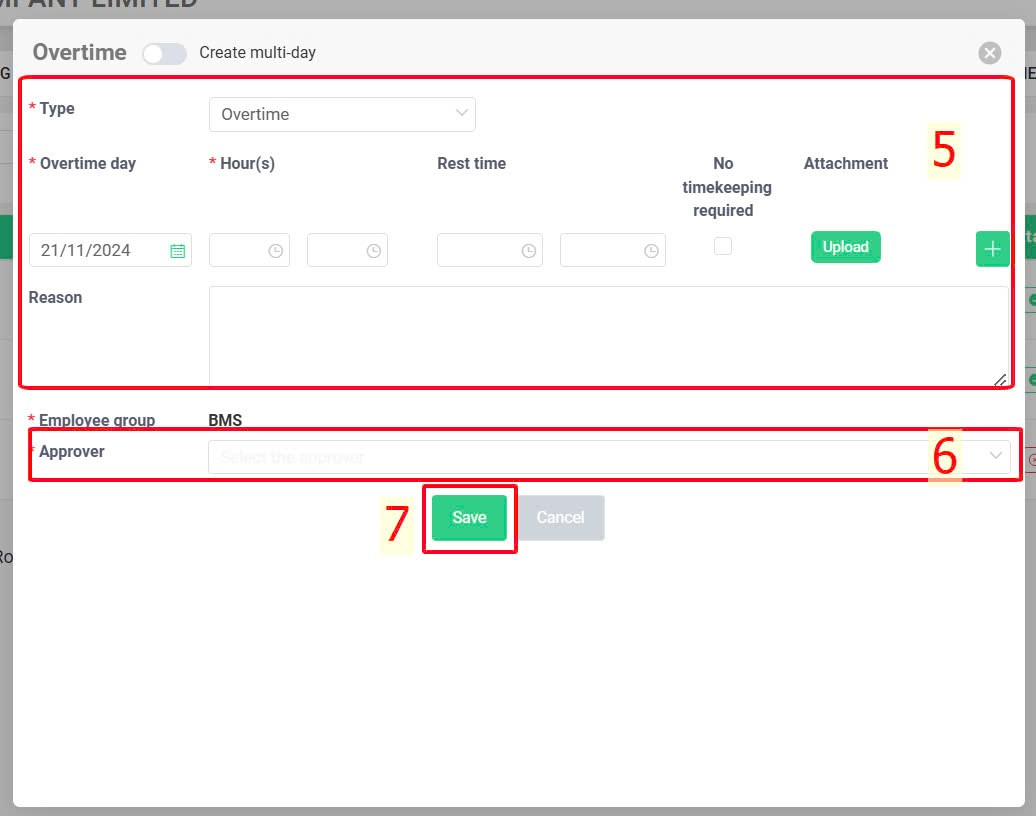
Individual > Working & Leave > Overtime > Add New > Insert data > Select an approver > Save.
Annotation:
Glossary |
Explanation |
Type |
The system automatically sets the type of application as Overtime |
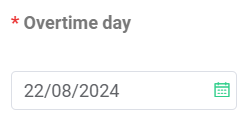
Select the day you want to work overtime. |
|
|
|
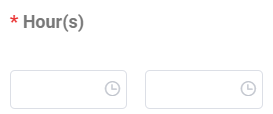
If the end time of an overtime is earlier than the start time, the system will automatically assign it to the following day and indicate "+1" to denote an overnight overtime. |
|
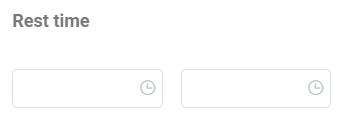
- The start/end of rest time during your overtime.- This field is not a must. It could be left empty if there is no rest time for your overtime. |
|
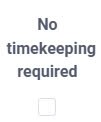
If employees select this option, they do not need to check in or out. The system will automatically record their overtime based on the hours specified in their application. |
|
Attach relevant documents if necessary (even if the application is approved) |
|
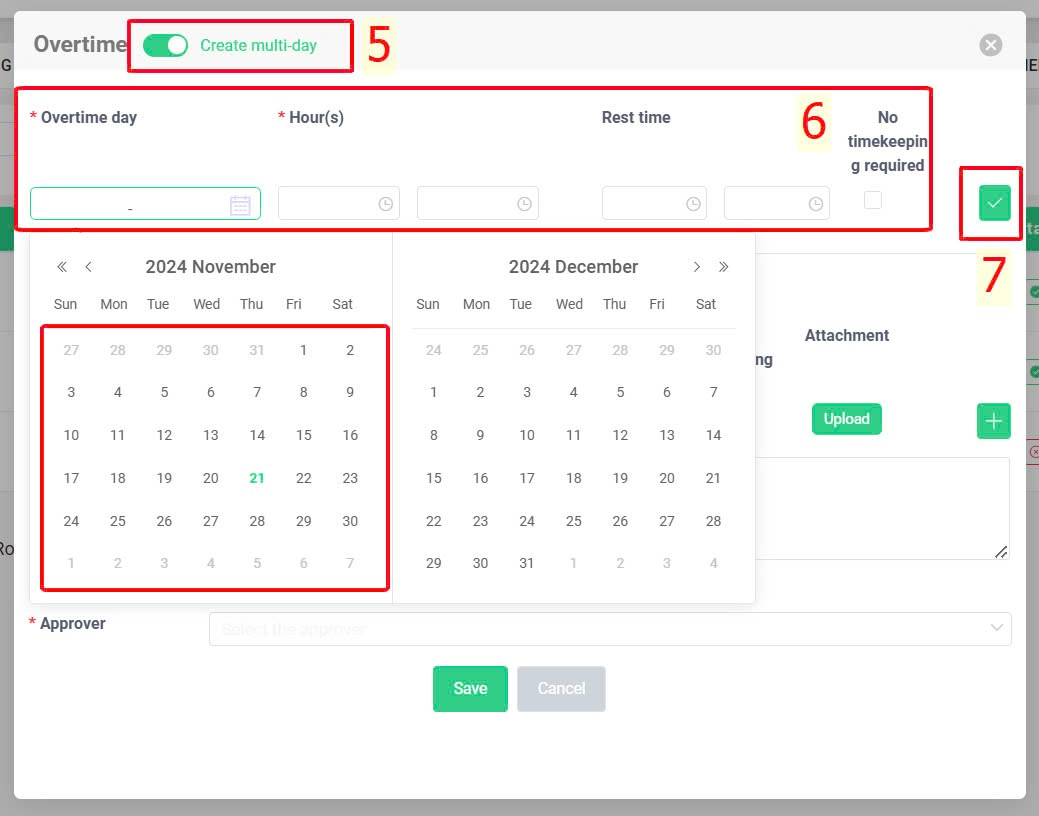
Create several days in one application |
2. How to create a multi-day application
Steps:
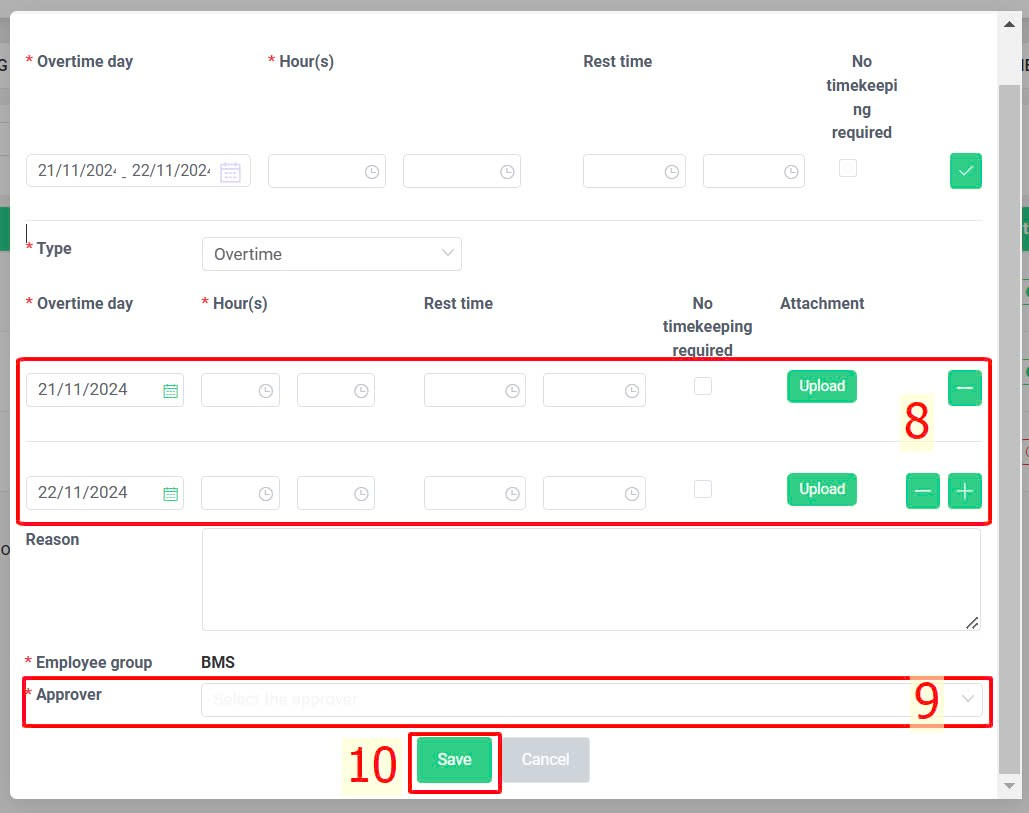
Individual > Working & Leave > Overtime > Add New > Create multi-day > Select consecutive days you wish for > Insert data > Select  > Adjust the detail from each application (if necessary) > Select an approver > Save.
Annotation:
Note:
-
Users cannot create overtime applications having application time overlapping with the planned working time.
For example, if the company's scheduled workday starts from 8:00 AM to 5:00 PM, the available time frame for applying for the "By the hour" option is shown in the picture below:
-
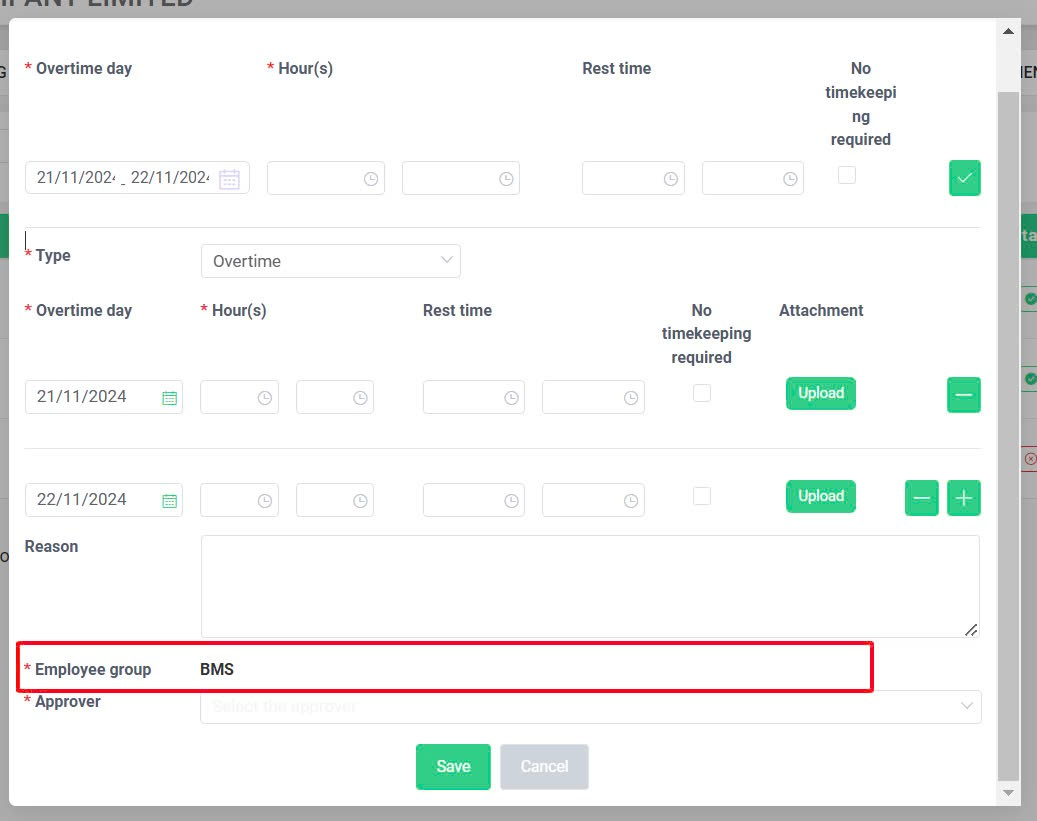
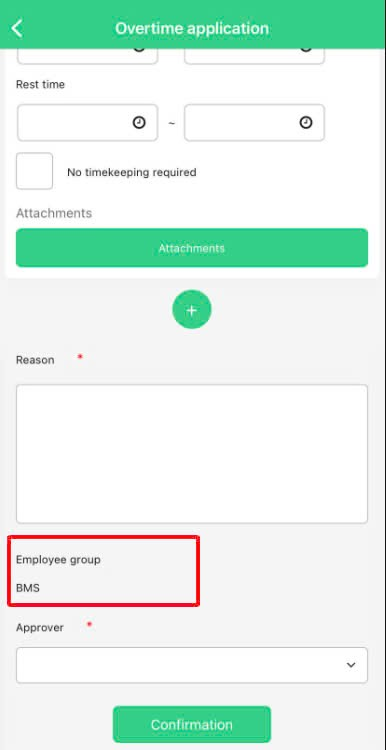
For companies that divide employees into different groups, situations can arise where an employee is part of multiple groups (such as being an approver in one group but needing approval from someone else in another group). For instance, an employee might be the approver for the Marketing team while also having applications requiring the Director's approval in the General Management group. Employees must choose the correct group approval workflow to ensure that applications are routed through the correct workflow. (Only available on Website)
Website's interface
Mobile app's interface
-
Users cannot create an application for overtime with a requested time that overlaps with the time in another previously submitted application (in any type).
-
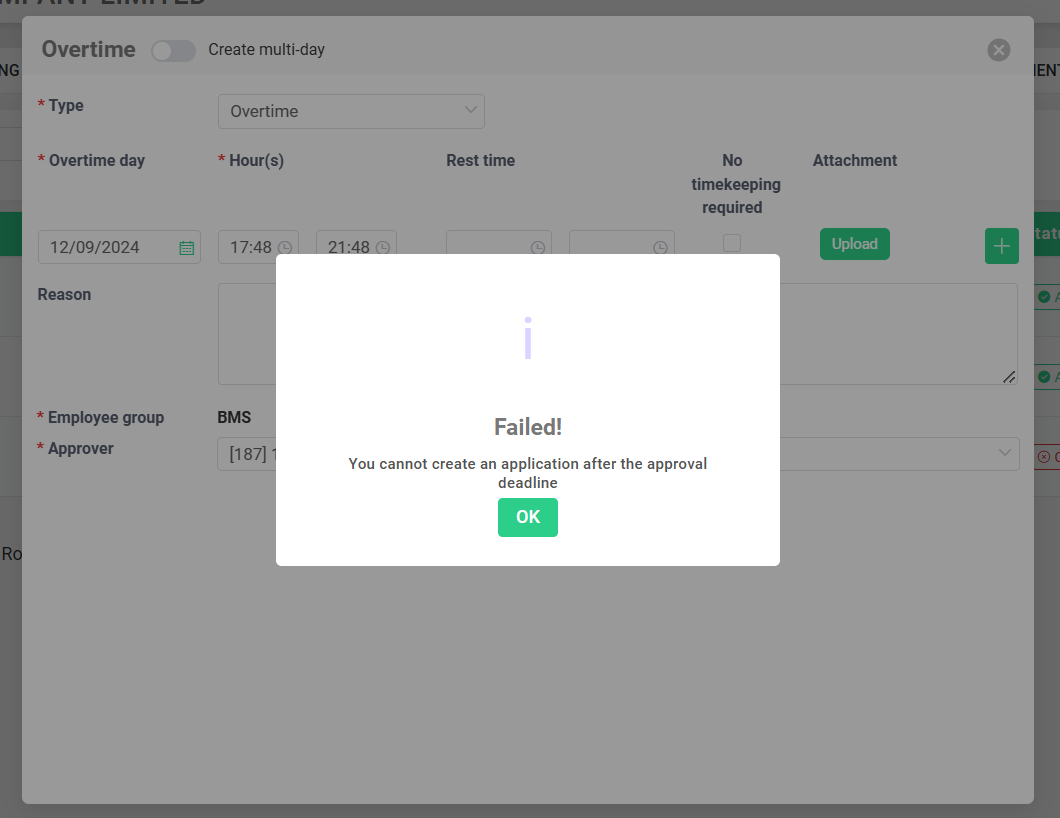
Employees cannot create an application after the cut-off date has passed.
-
After successfully creating the application, employees can review and cancel it.
Click here to see how to cancel an application
ON MOBILE APP
1. How to create a regular application
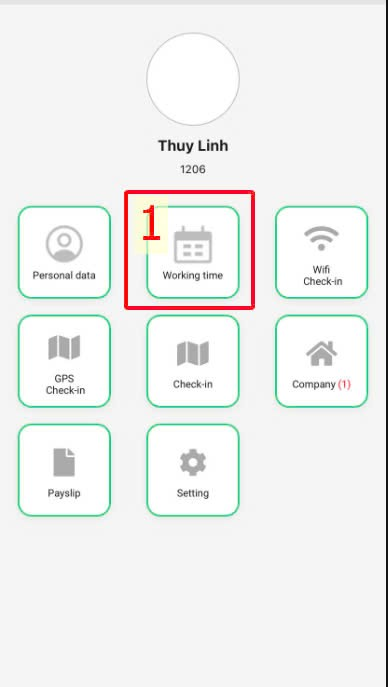
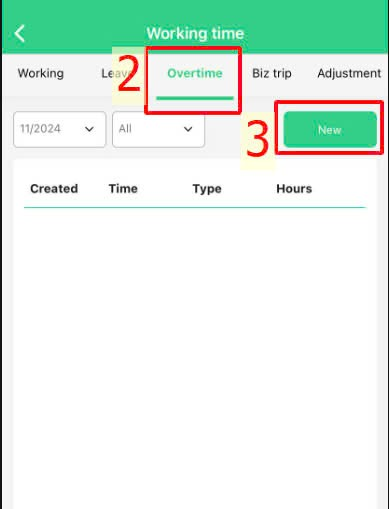
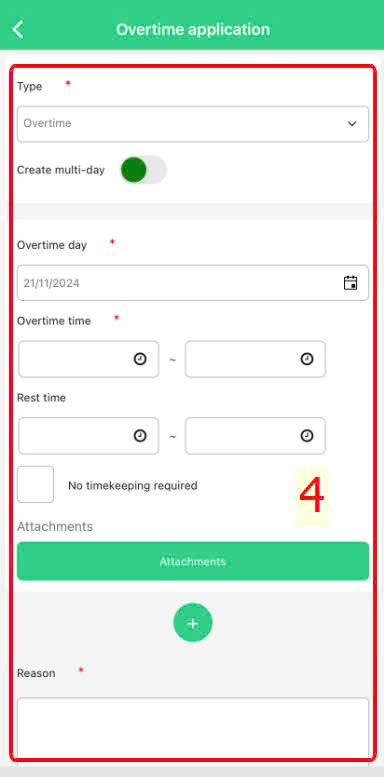
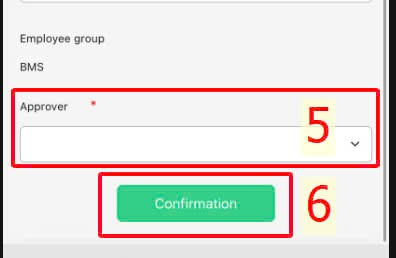
Steps: Main screen > Working time > Overtime > New > Insert information > Select an approver > Confirmation.
Annotation: (Click here)
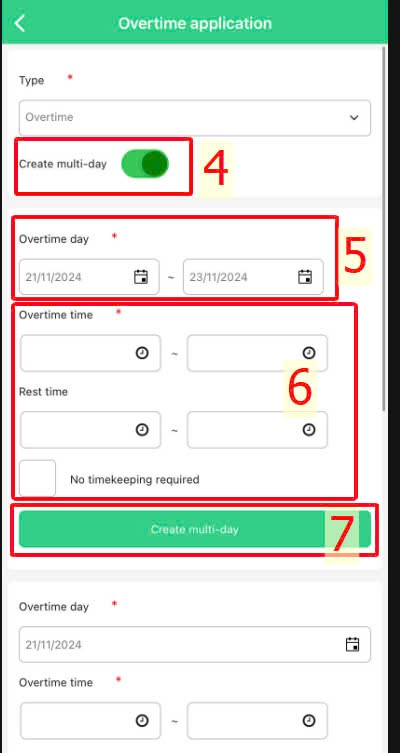
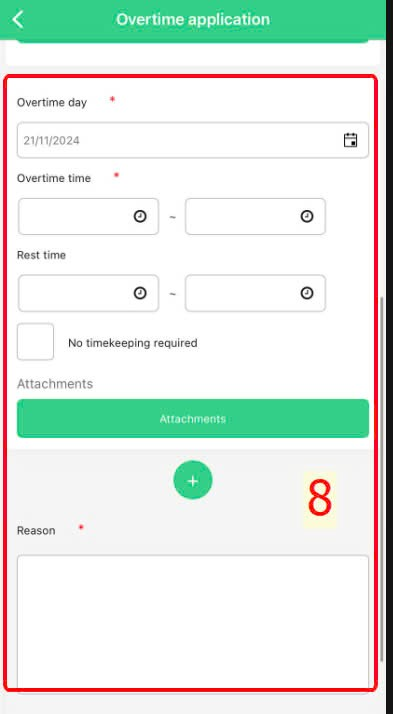
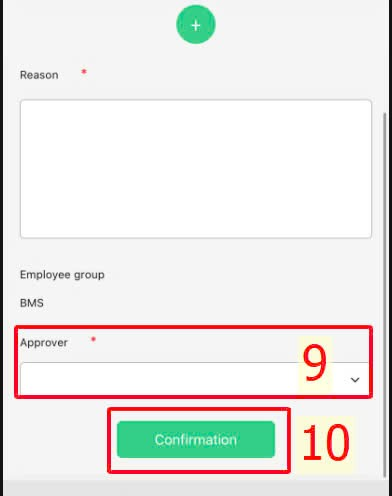
2. How to create a multi-day application
Steps:
Main screen > Working time > Overtime > New > Create multi-day > Select consecutive days you wish for > Insert data > Create several applications > Adjust the detail from each application (if necessary) > Select an approver > Save.
Annotation:
Note: Click here
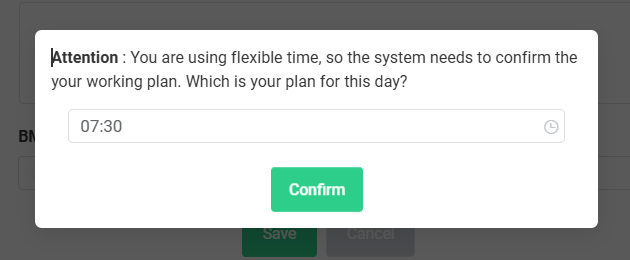
Notes for creating requests for employees on flexible work time
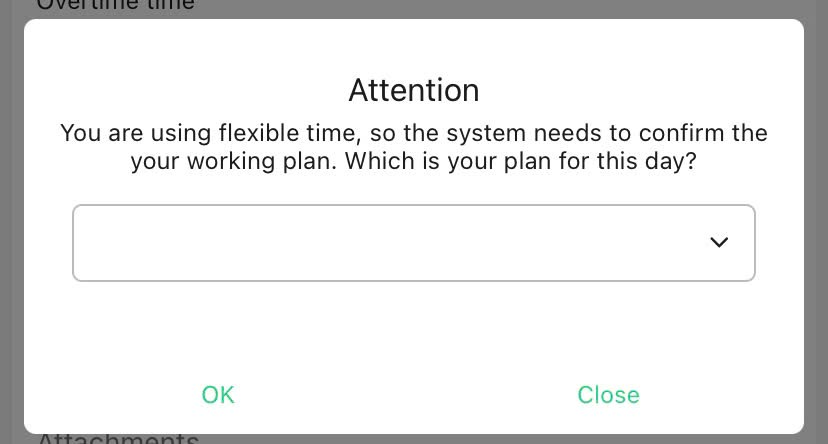
After clicking "New," before filling in the request details, the system will automatically display a dialog box for employees to select the start time of the workday for the request date.
-
In case a request is made for a past date or after checking in, the start time of the work shift should be set to the check-in time of the requested day.
-
For requests for future dates, on the day the request is submitted, employees must check in at or before the start time of the work shift selected in this dialog.
Website interface
Mobile app interface
-
Note: after selecting a start time, the user's work schedule (including expected check-in and check-out times) will be fixed according to the selected time. Users are required to clock in at or before the selected time in the dialog box and clock out at or after the expected check-out time (the check-in time in the dialog box plus + standard working hours per day).
-
If no start time is selected, the system will default to the standard start time of the work schedule for calculating employee working hours.


